In celebration of Earth Day, I am writing a 3 part guide on how to save an unused bicycle and convert it into a Fixed Gear that someone will ride.

- Find a suitable donor bike, dust is good, rust is bad. Make sure the rear of the bike frame will allow you to reposition the rear wheel forward and back, this frame feature is called horizontal dropouts, check the wheels, they should be generally straight and true with no rim dents and have a freewheel(5-8 speed), not a cassette.
- Clean the bike, not a super clean detailing but enough to get 80% of the grime off.
- Remove the chain.
- Cut gear cables, remove derailleurs and shifters.
- Remove wheels then disconnect brake cables and remove brake calipers.
- Remove all accessories(seat bags, bar bag, bottle cages, reflectors, kick stands, lights, computers, etc.)
- Remove pedals by putting a 15mm wrench on them and spinning cranks forward, then remove the cranks. (special instruction: If you want to do this without bike shop help you need to know your mechanical limits and the limits of your tools. DON'T TAKE APART ANYTHING YOU DON'T HAVE THE TOOLS TO REASSEMBLE.
- Select the parts you want to/need to re-use. I recommend those with wanting to recycle the maximum to REUSE ALL PARTS in good condition. Recommendations include recycling the wheels, cranks, chainring, pedals, seat, post, headset, handlebar, stem, front brake caliper and lever.
- Note the fit and size of the seat post. Older 80's steel bikes trend around 26.8 but have a high variability compared with the more common 27.2 size for new steel bikes. Make sure the fit is appropriate and that the previous owner did not replace the post with one too small and then overtighten binder bolt.
- Remove freewheel from the rear wheel and pie plate spoke protector.
- Clean the frame and fork again, now you can reach all the difficult areas and go about removing offensive stickers from the previous owner.
- Rinse and Repeat
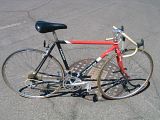
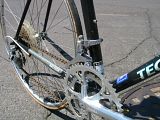
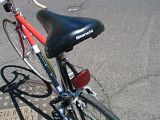
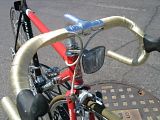
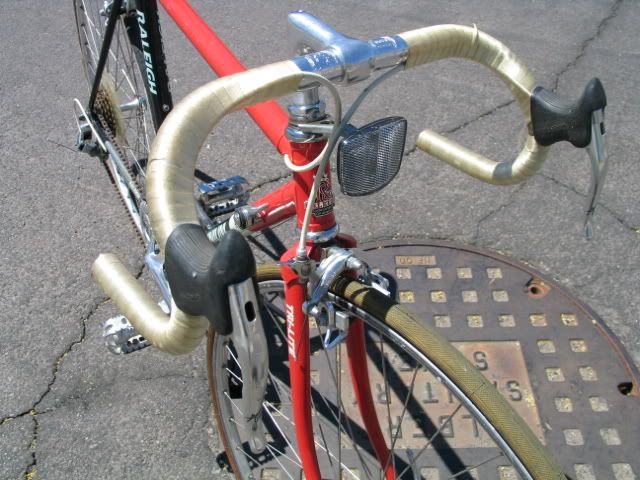
Here are some pics of a small 50cm Raleigh Technium Tri-Lite. This will make my 4th or 5th Technium conversion. I usually don't do before and after pictures, but here you go. The remaining steps on conversion of classic bike into your own fixed gear will follow in upcoming post.


Comments